From Design to Paper: The Complete Printing Workflow Explained

1) From Brief to Prepress Setup
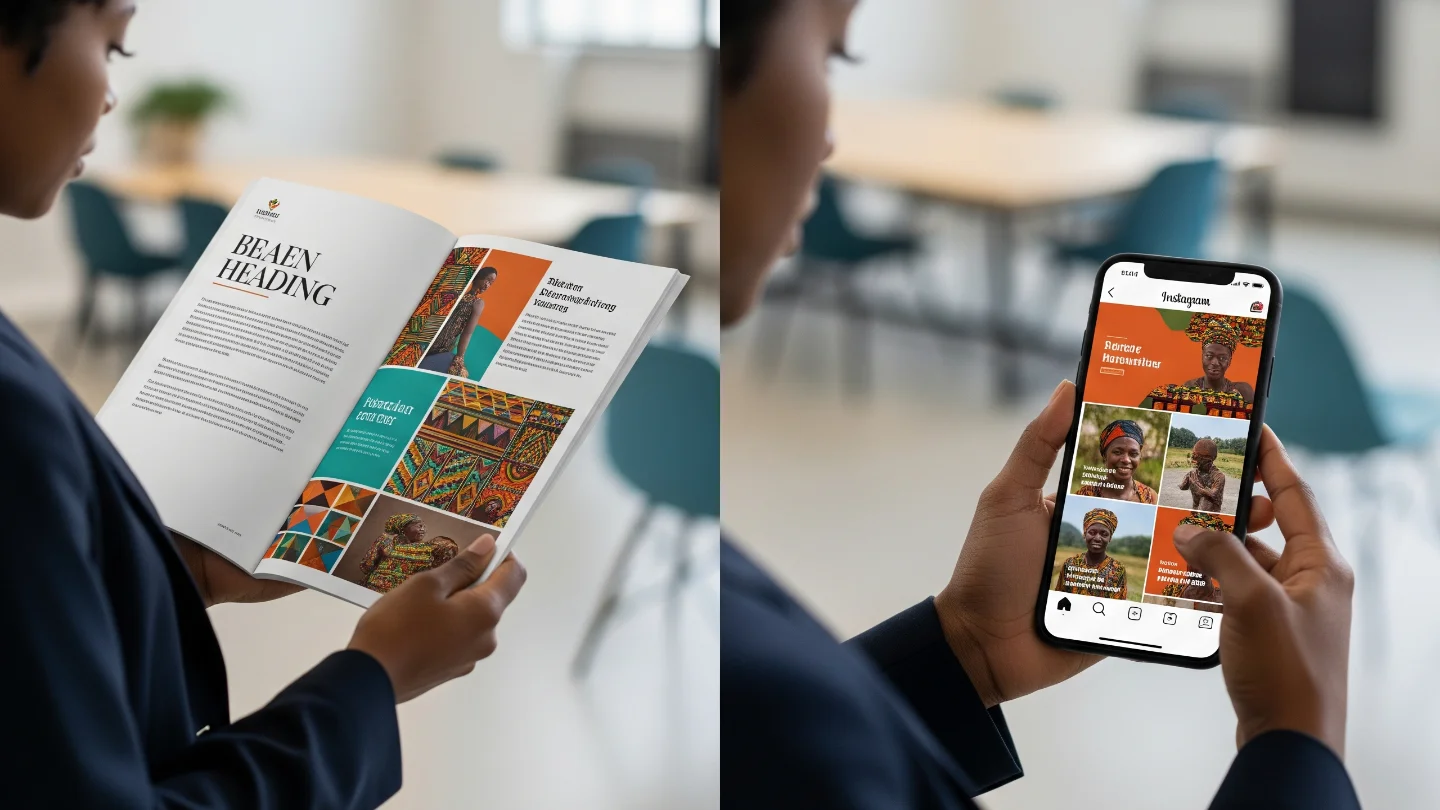
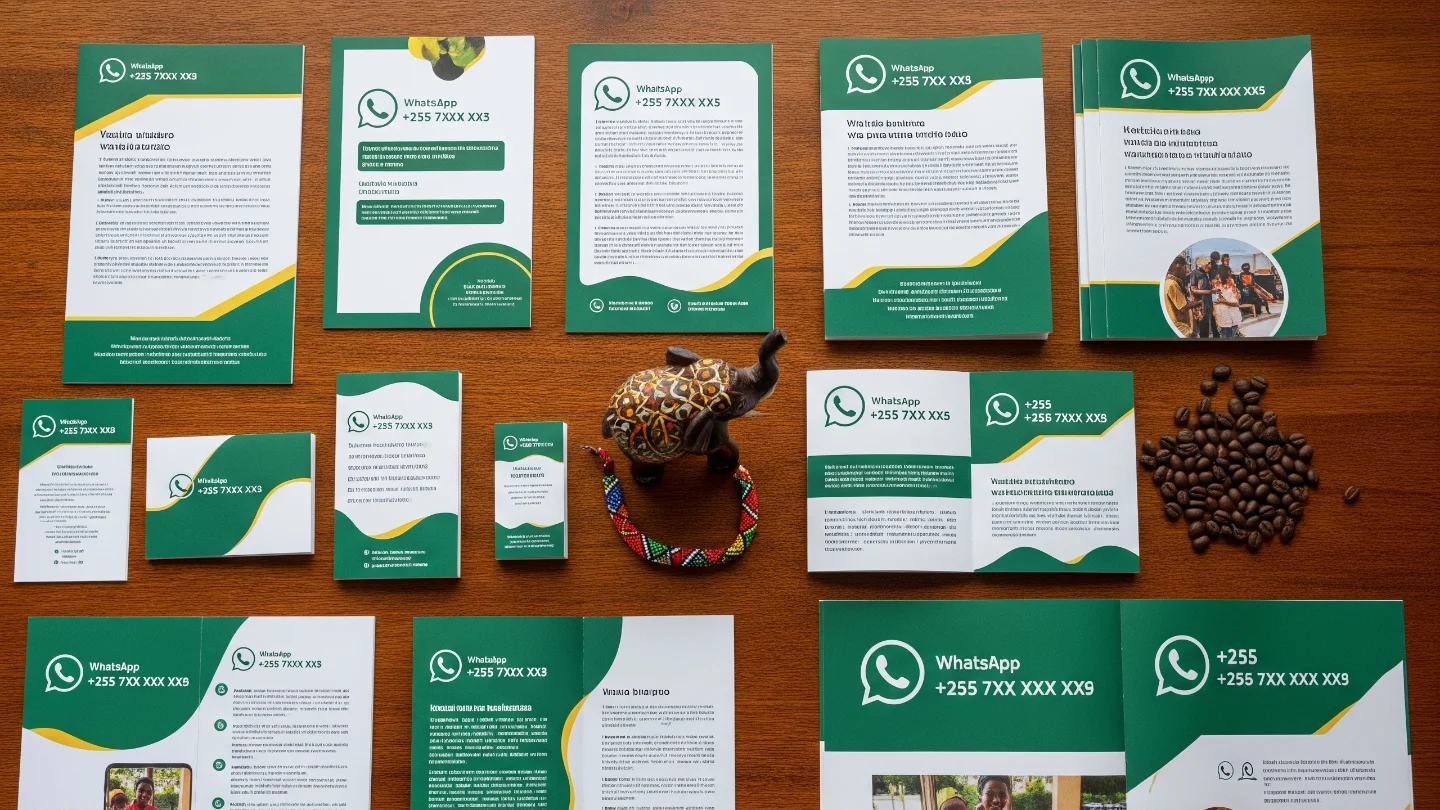
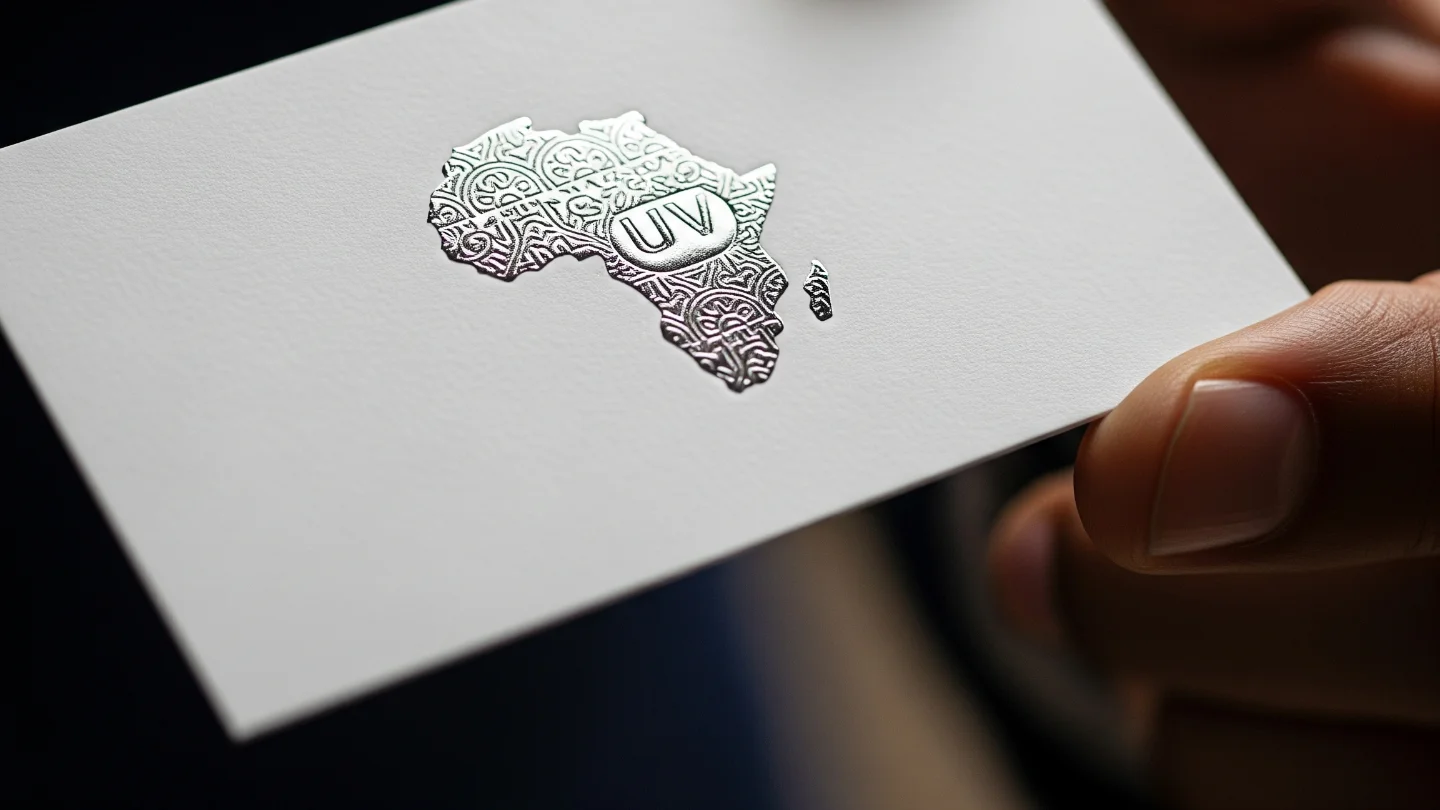
Every flawless print starts with a precise brief. Define the format (size, folds, pages), bleed and safe margins, stock (GSM, coating), finishes (lamination, foil, Spot UV), and quantity. Build your file at final size + bleed (typically 3–5 mm) and keep key elements inside the safe area. Place high‑resolution images (300 ppi at print size; for large‑format, 120–200 ppi at viewing distance can be enough). Keep logos and type as vectors. Work in a color‑managed environment, using the brand guide with Pantone/CMYK/RGB/HEX equivalents.
2) Color Management & Proofing
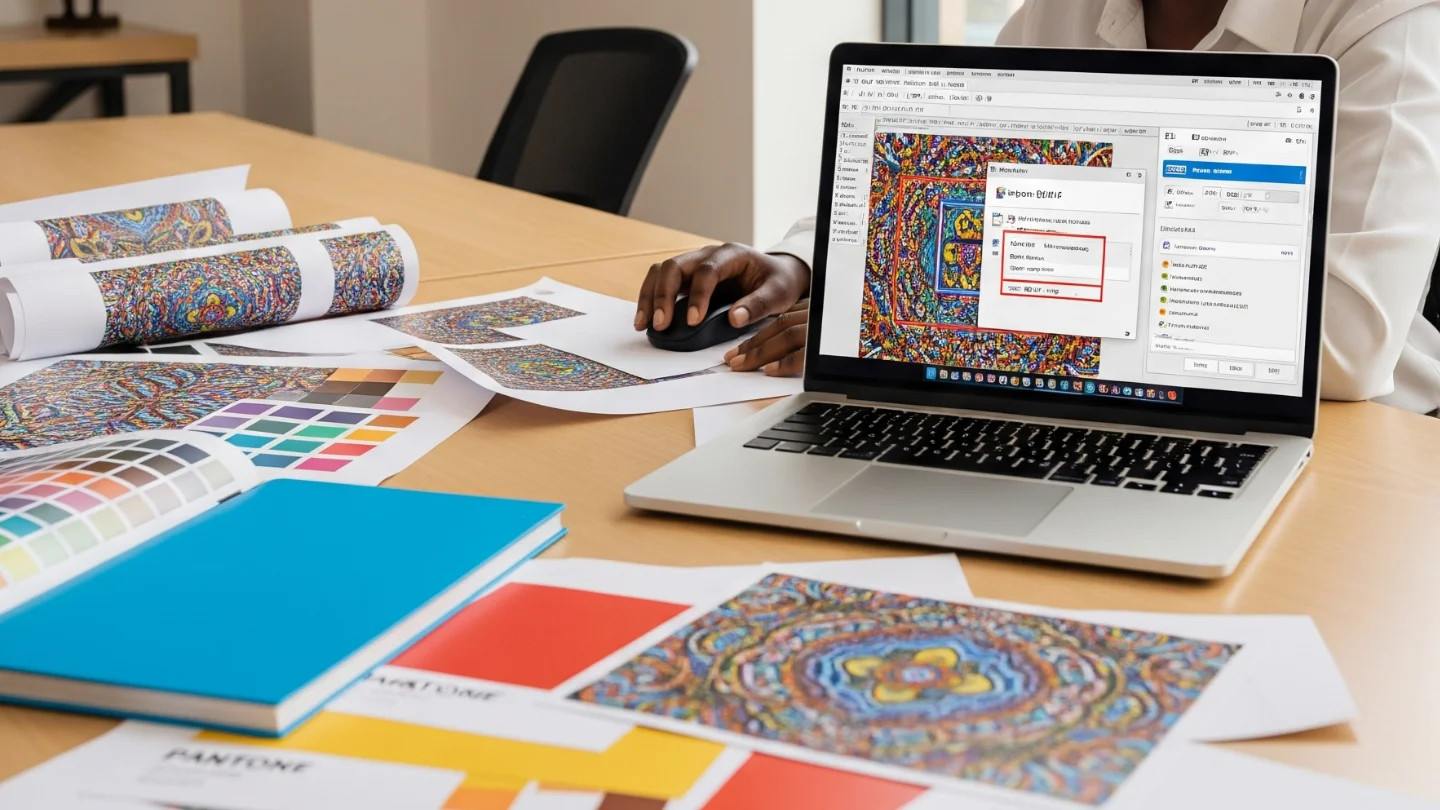
Ask your print provider for the exact ICC profile for their press + paper combo and soft‑proof with it (Relative Colorimetric + Black Point Compensation is a solid default; Perceptual helps for out‑of‑gamut photos). Export PDF/X‑4 to preserve live transparency and embed profiles. For brand‑critical hues, request a contract proof on the target stock and agree on acceptable ΔE tolerance. View proofs under standardized light (D50 booth or consistent daylight) to avoid surprises.
3) Press, Finishing, and QC
On press, operators apply calibrated ink limits and linearization curves; paper whiteness and coating affect perceived saturation and contrast. After printing comes finishing: trimming (mind crop marks), folding/creasing (to prevent cracking on heavy stocks), binding, lamination, or specialty embellishments. Before sign‑off, run quality control: check color consistency, registration, trimming accuracy, spine alignment, and any variable data. Archive the approved PDF and production specs for repeatability.
Prepress Tips (Designer Focus)
- Build with bleed (3–5 mm) and a safe area; avoid hairline borders close to trim.
- Keep small text K‑only (100% black) to prevent registration issues; use rich black only for large solids.
- Convert spot colors intentionally (stay as Pantone if color‑critical or convert to CMYK with proof).
- Avoid 4‑color text; embed fonts; prefer PDF/X‑4 with vectors intact.
Production Tips (Team & Client)
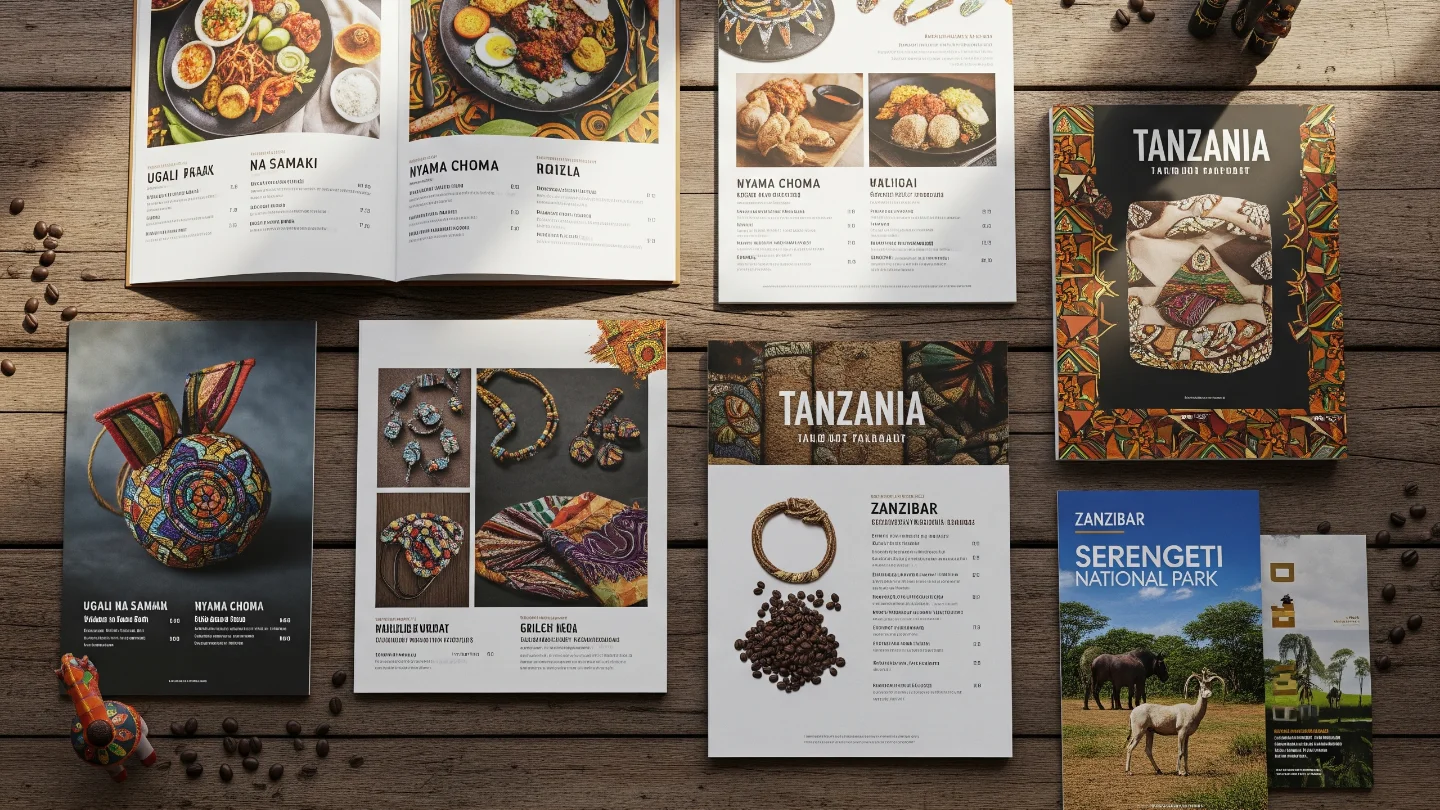
- Choose stock early—uncoated mutes color; gloss boosts saturation; matte improves readability.
- Confirm Total Area Coverage (TAC) matches the profile to avoid drying/offset.
- For large‑format, design at scale with realistic ppi for viewing distance (often 120–150 ppi is fine).
- Approve a contract proof on the final stock before full run.
Final Checklist
- ICC profile applied and soft‑proofed; exported PDF/X‑4 with embedded profiles.
- Images at proper ppi; logos/type are vector; fonts embedded.
- Bleed, crops, overprint/knockout reviewed; black builds verified.
- Paper, finishes, and fold/crease settings confirmed.
- Contract proof signed under standardized lighting.